You can use an enterprise account to manage licenses for GitHub Copilot Business, without adopting GitHub Enterprise.
This article describes the setup for an enterprise with managed users. If you haven't chosen an enterprise type, see About enterprise accounts for Copilot Business.
Prerequisites
- To provision users, you must connect the enterprise account to an identity management system. GitHub partners with some developers of identity management systems to provide a "paved-path" integration with Enterprise Managed Users. Alternatively, you can use any system, or combination of systems, that conforms to SAML 2.0 and SCIM 2.0. However, support for resolving problems with these systems may be limited. See About Enterprise Managed Users.
- To pay for licenses, you will need to add either a credit card or a Microsoft Azure subscription to your enterprise account. You will agree a payment method with GitHub Sales when you request the enterprise account.
- Before you enable Copilot, ensure you have reviewed the GitHub Copilot Product Specific Terms.
Requesting an enterprise account
To create an enterprise account, request access from your account team by contacting GitHub's Sales team.
After we create your enterprise, you will receive an email inviting you to choose a password for the setup user, which is used to configure authentication and provisioning. The username is your enterprise's shortcode suffixed with _admin, for example fabrikam_admin. Make sure to open the password reset link using an incognito or private browsing window. The link can only be opened once and if done incorrectly you will need to contact GitHub Support to send you a new link.
Note
If you need to reset the password for your setup user, contact GitHub Support through the GitHub Support portal. The usual password reset option by providing your email address will not work.
Adding users to the enterprise
To provision user accounts through your IdP, you'll need to configure your IdP by completing the following steps.
Step 1: Configure authentication
To manage single sign-on (SSO) for users, you must connect your IdP to your enterprise account. You can use:
- SAML with Entra ID, Okta, or PingFederate. For instructions, see Configuring SAML single sign-on for Enterprise Managed Users.
- OIDC with Entra ID. For instructions, see Configuring OIDC for Enterprise Managed Users.
Step 2: Configure SCIM provisioning
To provision accounts from your IdP, you must configure SCIM provisioning. For instructions, see Configuring SCIM provisioning for Enterprise Managed Users.
If you want to manage membership of teams from your IdP, you must assign the relevant identity groups to the GitHub Enterprise Managed User application on your IdP.
Step 3: Assign an enterprise owner
After you configure authentication and provisioning with your IdP, grant one or more users the enterprise owner role. Enterprise owners can enable Copilot for the enterprise and manage which users receive licenses. For instructions, see Configuring SCIM provisioning for Enterprise Managed Users.
You can also grant the billing manager role. A billing manager can view the assigned licenses for an enterprise, but cannot assign licenses or manage enterprise teams.
Adding a payment method
You must add the payment method that you agreed with GitHub Sales when you requested the enterprise account.
Adding a credit card
To add a credit card, go to your enterprise's "Payment information" page. See Managing your payment and billing information.
Adding an Azure subscription
For instructions, read the following sections in the "Connecting an Azure subscription" article:
If you prefer a visual overview of the process, watch Billing GitHub consumption through an Azure subscription on our YouTube channel.
Enabling Copilot for the enterprise
Before you can assign licenses, an enterprise owner must enable Copilot for the enterprise and select policies for certain features.
- In the top-right corner of GitHub, click your profile photo.
- Depending on your environment, click Your enterprise, or click Your enterprises then click the enterprise you want to view.
- On the left side of the page, in the enterprise account sidebar, click Policies.
- In the " Policies" section, click Copilot.
- Under "GitHub Copilot policies", click Allowed, then click Save.
- Review the policies for suggestions matching public code and Copilot Chat, and update the dropdown menus to enable or disable the features as required.
Assigning licenses to users
When Copilot has been enabled for the enterprise, an enterprise owner can create teams in the enterprise and assign licenses to a team.
- You will grant or remove licenses for users by managing membership of the teams, either from your IdP, directly in GitHub, or with the REST API.
- You cannot assign licenses to individual users or to an entire enterprise.
- To manage membership from your IdP, ensure the relevant identity groups have been assigned to the GitHub Enterprise Managed User application in your IdP and pushed to GitHub via SCIM.
The same user can be a member of multiple teams. You will only be charged once per user.
Creating a team
Note
You can create teams and manage membership using the REST API. For endpoint documentation, please contact your account manager.
-
On the left side of the page, in the enterprise account sidebar, click People.
-
Under "People", click Enterprise teams.
-
Click New enterprise team.
-
Enter a name for the team.
-
Optionally, to sync the team with an identity group and manage membership from your IdP, under "Identity Provider Group", select a group from the dropdown menu. If you leave this dropdown menu empty, you will manage membership of the team directly.
-
Click Create team.
-
Add users to the team:
- If you linked the team to an IdP group, add users to the related group in your IdP.
- If you are managing team membership directly, on the team page, click Add a member, then search for and select the user. For information about how GitHub generates usernames for users provisioned from an IdP, see Username considerations for external authentication.
Assigning licenses to a team
When you have created a team in the enterprise, you can assign licenses to all members of the team.
-
On the left side of the page, in the enterprise account sidebar, click Billing & Licensing.
-
Under Billing & Licensing, click Licensing.
-
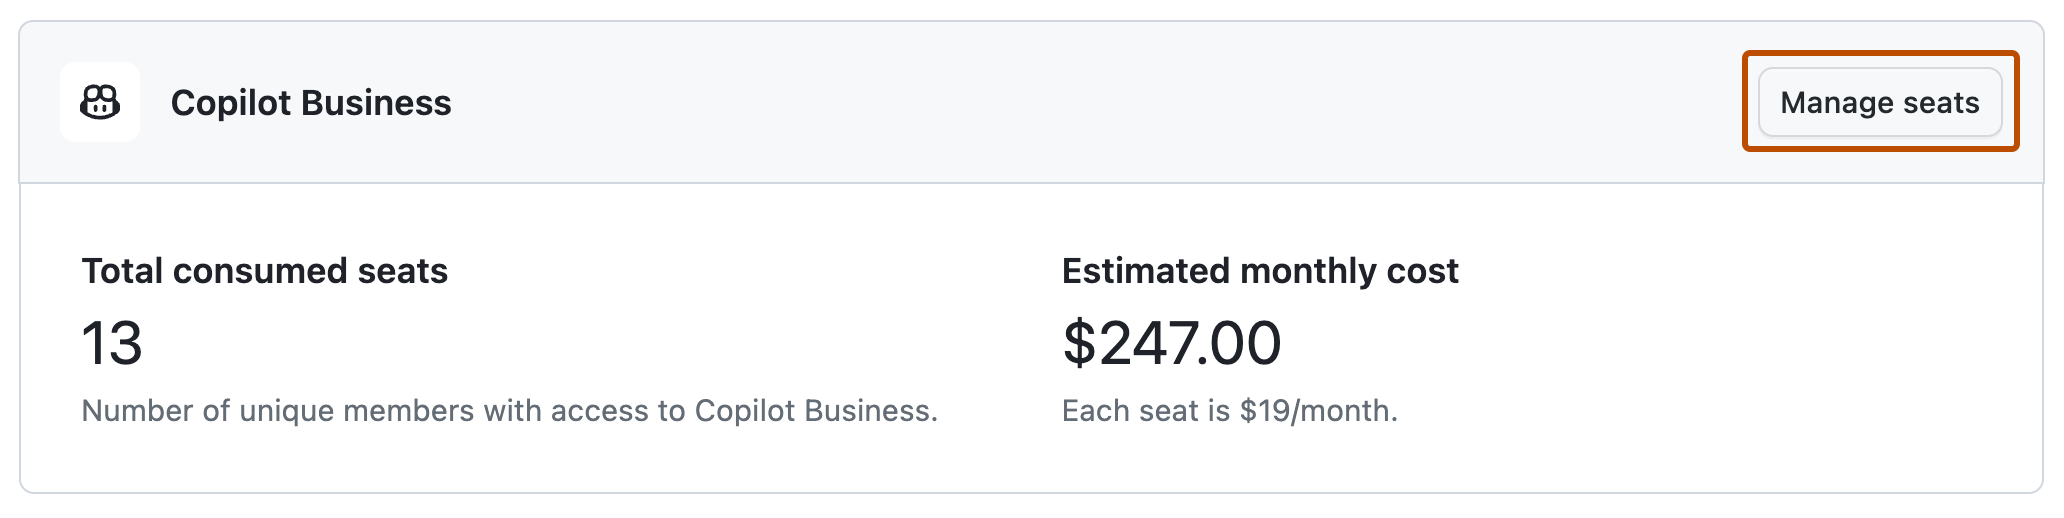
In the "Copilot Business" section, click Manage seats.
-
Click Add teams.
-
In the dialog, select the teams you want to add, review how your bill will be affected, then click Add teams.

You can add or remove users from a team at any time. After you remove a user from a team, the user's license and access to Copilot will be removed the next time the user attempts to authenticate. This can take up to 30 minutes.
Note
If you manage team membership from Entra ID, addition or removal of a user from a team on GitHub may take up to 40 minutes. After Entra ID communicates with GitHub, the change will take effect after GitHub prompts the user to authenticate.
Managing your enterprise
For next steps that apply to any enterprise using Copilot Business, see Setting up GitHub Copilot for your enterprise. The step for granting access to organizations does not apply.
The following sections contain specific information for your enterprise.
Automate license management
You can use the REST API to automate license management. For example, you can list assigned licenses and latest activity, then remove access for users who haven't been using their license.
To do this in your enterprise, you can use the List all Copilot seat assignments for an enterprise endpoint, then use the API to manage access to enterprise teams. To request documentation for the API endpoints for enterprise teams, please contact your account manager.
Manage billing
Your enterprise has access to the enhanced billing platform, which allows you to estimate upcoming spending, control overspending with budgets, and track spending changes over time.
See Using the new billing platform.
Configure content exclusions
You can prevent specified files or repositories from being used to inform code completion suggestions made by GitHub Copilot. GitHub Copilot will not be available in excluded files.
- On the left side of the page, in the enterprise account sidebar, click Policies.
- Click the Content exclusion tab.
- Use paths to specify which content to exclude. See Excluding content from GitHub Copilot.