About release management
You can create new releases with release notes, @mentions of contributors, and links to binary files, as well as edit or delete existing releases. You can also create, modify, and delete releases by using the Releases API. For more information, see REST API endpoints for releases in the REST API documentation.
You can also publish an action from a specific release in GitHub Marketplace. For more information, see Publishing actions in GitHub Marketplace.
You can choose whether Git Large File Storage (Git LFS) objects are included in the ZIP files and tarballs that GitHub Enterprise Cloud creates for each release. For more information, see Managing Git LFS objects in archives of your repository.
Creating a release
-
On GitHub, navigate to the main page of the repository.
-
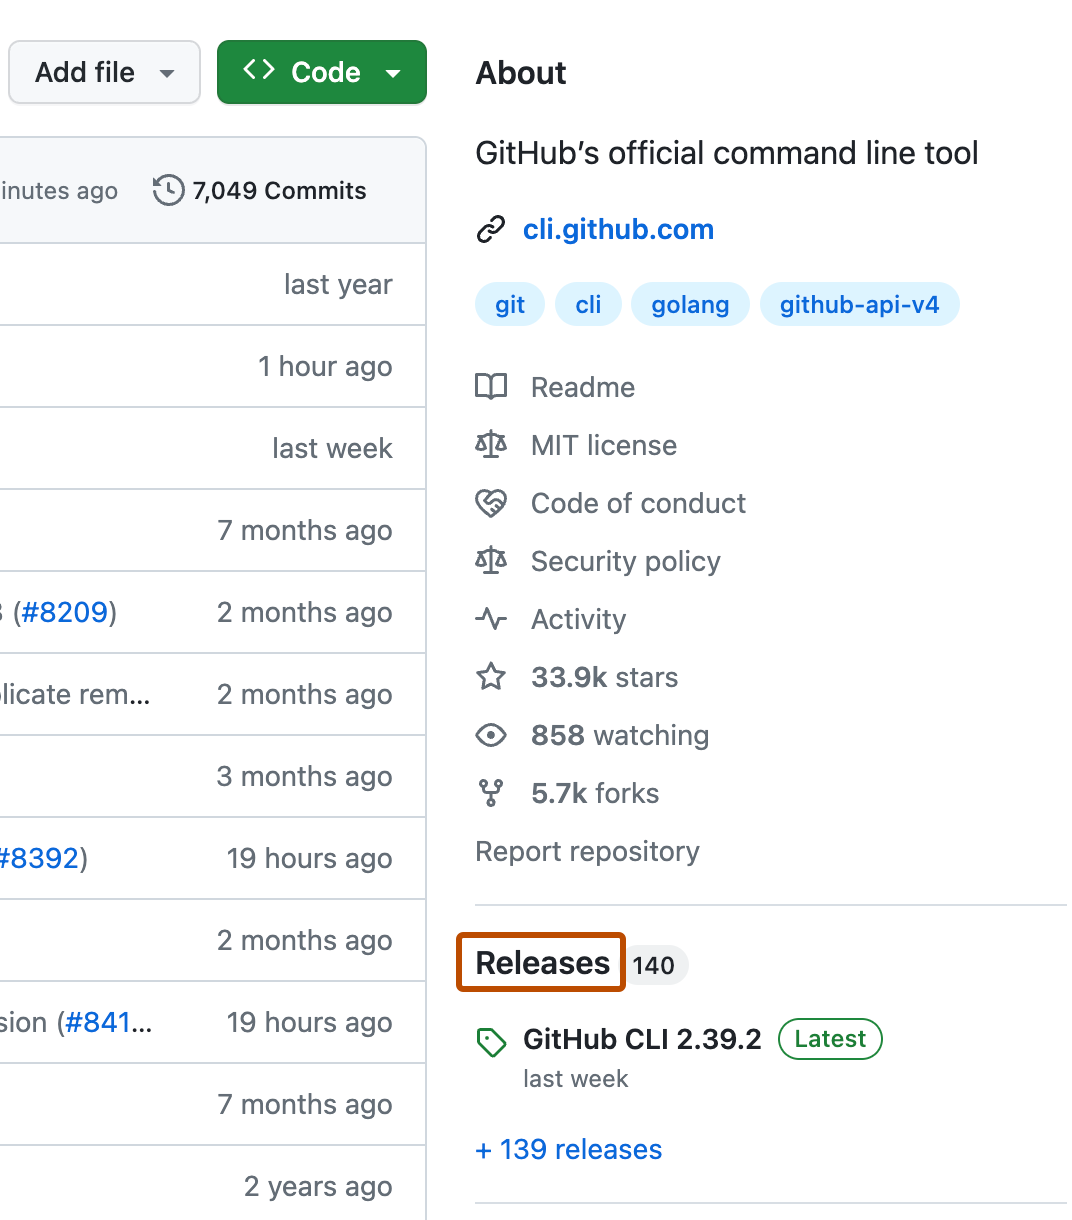
To the right of the list of files, click Releases.

-
At the top of the page, click Draft a new release.
-
To choose a tag for the release, select the Choose a tag dropdown menu.
- To use an existing tag, click the tag.
- To create a new tag, type a version number for your release, then click Create new tag.
-
If you created a new tag, select the Target dropdown menu, then click the branch that contains the project you want to release.
-
Optionally, above the description field, select the Previous tag dropdown menu, then click the tag that identifies the previous release.

-
In the "Release title" field, type a title for your release.
-
In the "Describe this release" field, type a description for your release. If you @mention anyone in the description, the published release will include a Contributors section with an avatar list of all the mentioned users. Alternatively, you can automatically generate your release notes by clicking Generate release notes.
-
Optionally, to include binary files such as compiled programs in your release, drag and drop or manually select files in the binaries box.
-
Optionally, to notify users that the release is not ready for production and may be unstable, select This is a pre-release.
-
Optionally, select Set as latest release. If you do not select this option, the latest release label will automatically be assigned based on semantic versioning.
-
Optionally, if GitHub Discussions is enabled for the repository, create a discussion for the release.
- Select Create a discussion for this release.
- Select the Category dropdown menu, then click a category for the release discussion.
-
If you're ready to publicize your release, click Publish release. To work on the release later, click Save draft. You can then view your published or draft releases in the releases feed for your repository. For more information, see Viewing your repository's releases and tags.
Note
To learn more about GitHub CLI, see About GitHub CLI.
-
To create a release, use the
gh release createsubcommand. Replacetagwith the desired tag for the release.gh release create TAG -
Follow the interactive prompts. Alternatively, you can specify arguments to skip these prompts. For more information about possible arguments, see the GitHub CLI manual. For example, this command creates a prerelease with the specified title and notes.
gh release create v1.3.2 --title "v1.3.2 (beta)" --notes "this is a public preview release" --prerelease
If you @mention any GitHub Enterprise Cloud users in the notes, the published release on GitHub.com will include a Contributors section with an avatar list of all the mentioned users.
Editing a release
-
On GitHub, navigate to the main page of the repository.
-
To the right of the list of files, click Releases.

-
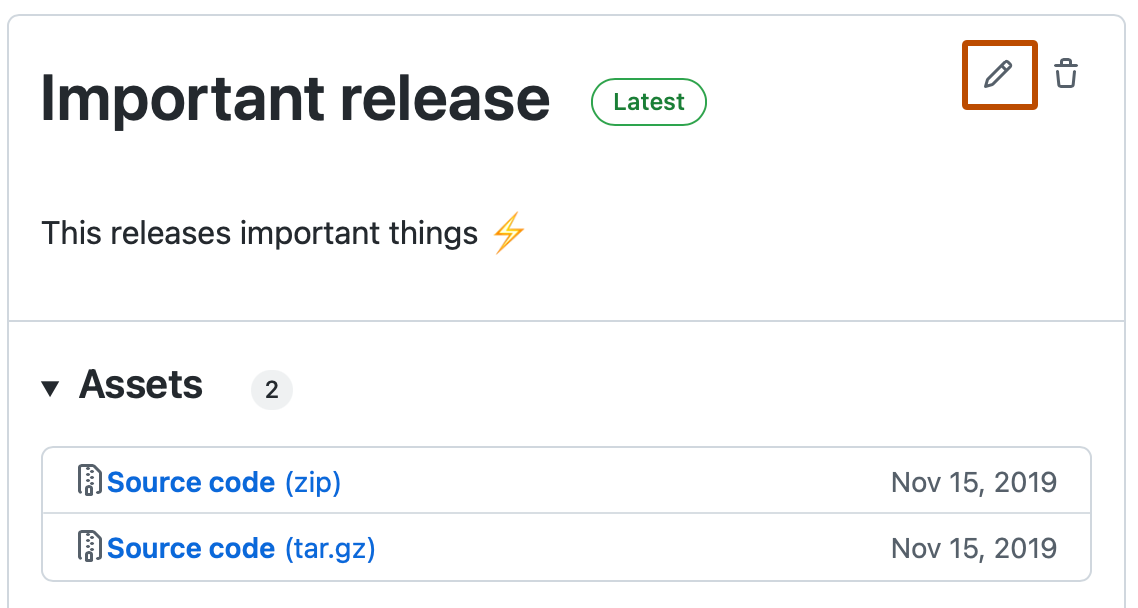
Next to the release you want to edit, click .

-
Edit the details for the release in the form, then click Update release. If you add or remove any @mentions of GitHub users in the description, those users will be added or removed from the avatar list in the Contributors section of the release.
-
To edit a release, use the
gh release editsubcommand. ReplaceTAGwith the tag representing the release you wish to edit. For example, to edit the title for a release, use the following code, replacingNEW-TITLEwith the updated title:gh release edit TAG -t "NEW-TITLE"For more information about possible arguments, see the GitHub CLI manual.
Deleting a release
-
On GitHub, navigate to the main page of the repository.
-
To the right of the list of files, click Releases.

-
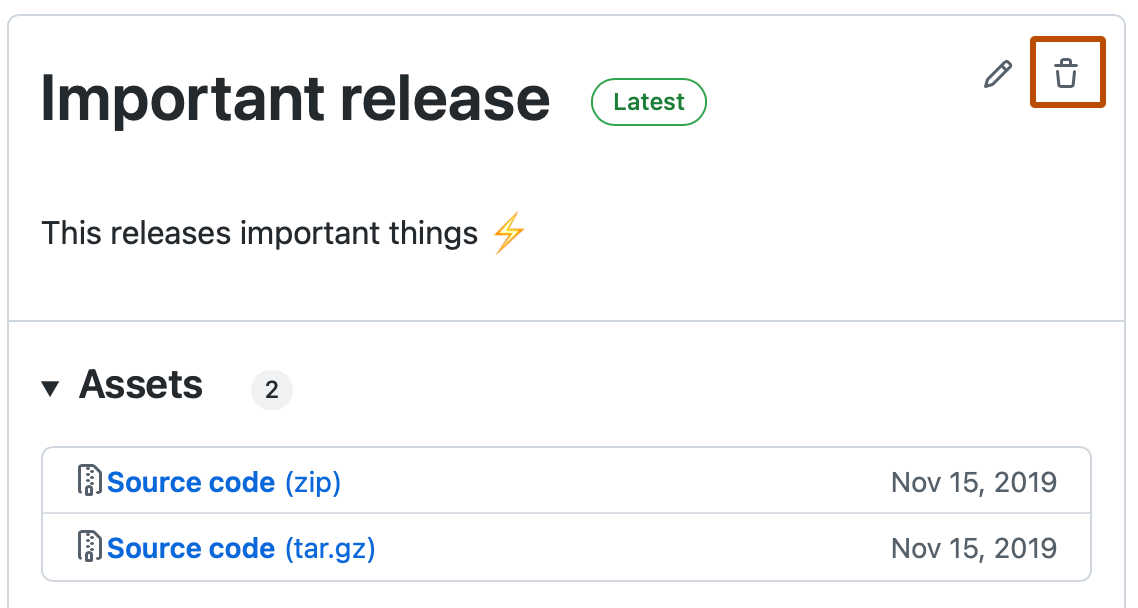
On the right side of the page, next to the release you want to delete, click .

-
Click Delete this release.
-
To delete a release, use the
gh release deletesubcommand. Replacetagwith the tag of the release to delete. Use the-yflag to skip confirmation.gh release delete TAG -y