Introduction
By setting up a template repository, you can help people get started with your framework, library, or other project in GitHub Codespaces. Users will be able to start working with your template files immediately in a cloud-based development environment, without having to worry about cloning your repository or installing tools or other dependencies. With some configuration, you will be able to set users up in a codespace with important files already open for editing, and with an application already running in a preview browser tab within the VS Code web editor.
Anyone with read access to your template repository can create a codespace from the repository's page on GitHub. You can turn any existing repository into a template, and you do not have to change any settings to allow users to create a codespace from your template repository. For more information on turning a repository into a template, see Creating a template repository.
To help users find your template and get started quickly, you can share a link to the codespace creation page for the template. For example, you could provide this link in a tutorial for getting started with your framework. You can use the "share a deep link" option and select Quick start to build a link that takes users to a page where they can quickly create a new codespace or resume a recent one. For more information, see Facilitating quick creation and resumption of codespaces.
When someone creates a codespace from your template, the contents of your template repository will be cloned into their codespace. When the user is ready, they will be able to publish their work to a new repository on GitHub belonging to their personal account. For more information, see Creating a codespace from a template.
Organizations can pay for members of the organization and outside collaborators to use GitHub Codespaces at the organization's expense. This includes codespaces created from template repositories owned by the organization. However, if a user publishes a codespace created from a template to their personal account, ownership and billing of the codespace transfers to the user who created the codespace. For more information, see About billing for GitHub Codespaces.
Describe your template
If you don't have one, create a README for your template repository to describe the purpose of your template and how to get started with it. For more information, see About READMEs.
You can also provide a short description of your project by navigating to the repository's page and clicking next to the About section on the right of the page.

Add starter files
Template repositories typically contain starter files with boilerplate code so users can quickly get started with a library, framework, or other technology.
For guidance on the kinds of files to include, you can look at the starter files included in the official GitHub templates for GitHub Codespaces, as follows.
-
In the top-left corner of GitHub, select , then click Codespaces to take you to the "Your codespaces" page at github.com/codespaces.
-
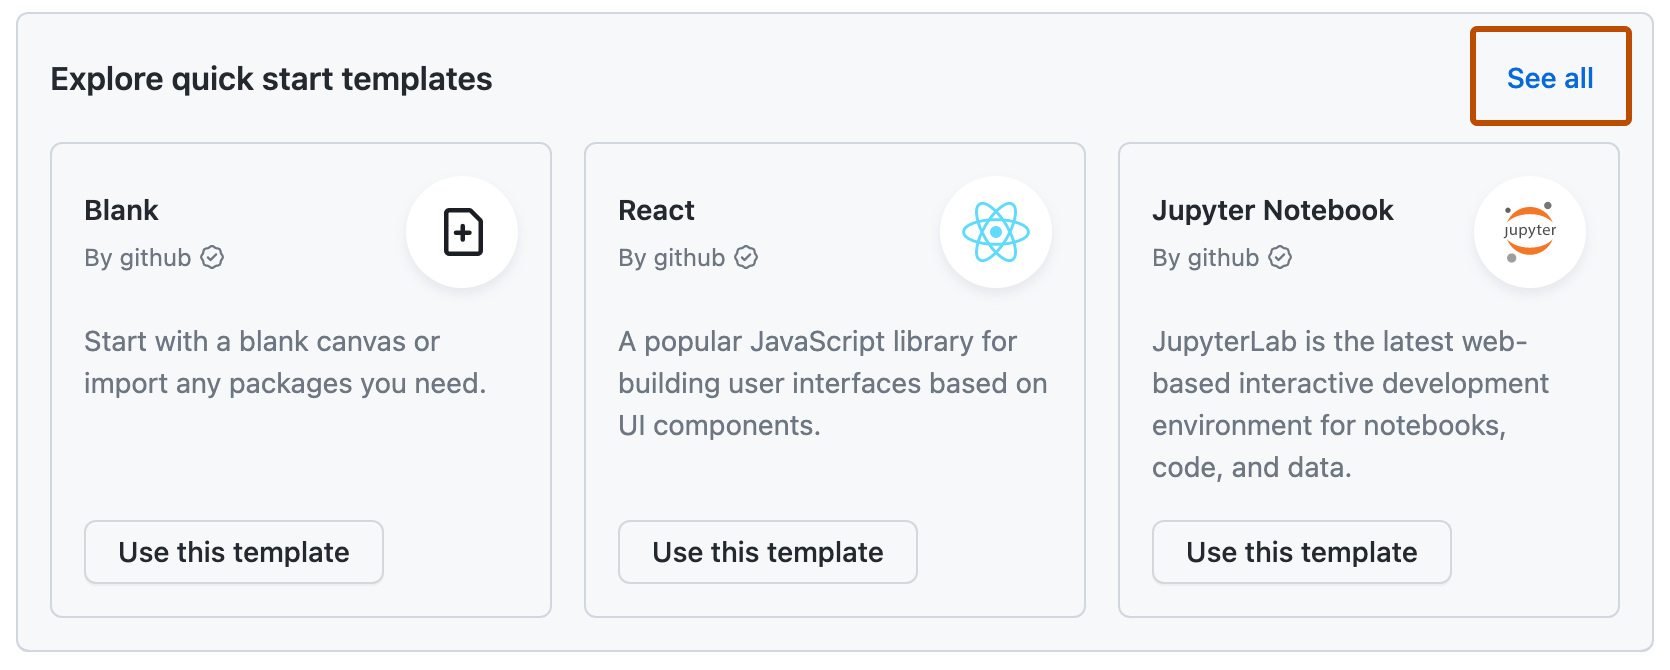
To view the full list of templates, in the "Explore quick start templates" section, click See all.

-
To view the template repository that contains the files for the template, click the name of the template.

Configure the dev container
You can add dev container configuration files to your template repository to customize the development environment for people using your template with GitHub Codespaces. You can choose from a list of predefined configuration settings in Visual Studio Code, or you can create a custom configuration by writing your own devcontainer.json file. If you don't add configuration files, the default container image will be used. For more information, see Introduction to dev containers and Adding a dev container configuration to your repository.
Note
When users create codespaces from the Use this template button in a template repository, they will not be given a choice between configurations. The codespace will be built based on the default configuration defined in .devcontainer/devcontainer.json, or in .devcontainer.json at the root of your repository.
You should configure your dev container with the tools and customization to give users the best experience with your template. For example, in your devcontainer.json file:
- You can use the
openFilesproperty to define a list of files to be opened automatically in the VS Code web client when a codespace is created from your template. - If users need to provide personal secrets such as API keys to run the application in your template, you can prompt them to provide these secrets. For more information, see Specifying recommended secrets for a repository.
- If your template contains files for a web application, you can make the application run automatically in the user's codespace. You can do this by using the
postAttachCommandproperty to run a script that starts the application on a local server as soon as the VS Code web client connects to the codespace, and by setting theonAutoForwardproperty of a port toopenPreviewto display the application running on that port in a simple browser embedded in the VS Code web client.
The following configuration settings for a React template will open the app.js file in the user's editor, run npm start (defined in a package.json file) to start a local server, and forward port 3000 to a preview browser tab in the codespace.
{
    "postAttachCommand": {
      "server": "npm start"
    },

    "portsAttributes": {
      "3000": {
        "label": "Application",
        "onAutoForward": "openPreview"
      }
    },

    "customizations": {
      "codespaces": {
        "openFiles": ["src/App.js"]
      }
    }
}
For more information, see Automatically opening files in the codespaces for a repository and the dev containers specification on the Development Containers website.