Note
Custom deployment protection rules are currently in beta and subject to change.
About custom deployment protection rules
You can enable your own custom protection rules to gate deployments with third-party services. For example, you can use services such as Datadog, Honeycomb, and ServiceNow to provide automated approvals for deployments to GitHub.
Custom deployment protection rules are powered by GitHub Apps and run based on webhooks and callbacks. Approval or rejection of a workflow job is based on consumption of the deployment_protection_rule webhook. For more information, see Webhook events and payloads and Approving or rejecting deployments.
Once you have created a custom deployment protection rule and installed it on your repository, the custom deployment protection rule will automatically be available for all environments in the repository.
Using custom deployment protection rules to approve or reject deployments
Deployments to an environment can be approved or rejected based on the conditions defined in any external service like an approved ticket in an IT Service Management (ITSM) system, vulnerable scan result on dependencies, or stable health metrics of a cloud resource. The decision to approve or reject deployments is at the discretion of the integrating third-party application and the gating conditions you define in them. The following are a few use cases for which you can create a deployment protection rule.
- ITSM & Security Operations: you can check for service readiness by validating quality, security, and compliance processes that verify deployment readiness.
- Observability systems: you can consult monitoring or observability systems (Asset Performance Management Systems and logging aggregators, cloud resource health verification systems, etc.) for verifying the safety and deployment readiness.
- Code quality & testing tools: you can check for automated tests on CI builds which need to be deployed to an environment.
Alternatively, you can write your own protection rules for any of the above use cases or you can define any custom logic to safely approve or reject deployments from pre-production to production environments.
Creating a custom deployment protection rule with GitHub Apps
-
Create a GitHub App. For more information, see Registering a GitHub App. Configure the GitHub App as follows.
- Optionally, in the Callback URL text field under "Identifying and authorizing users," enter the callback URL. For more information, see About the user authorization callback URL.
- Under "Permissions," select Repository permissions.
- To the right of "Actions," click the drop down menu and select Access: Read-only.

- To the right of "Deployments," click the drop down menu and select Access: Read and write.

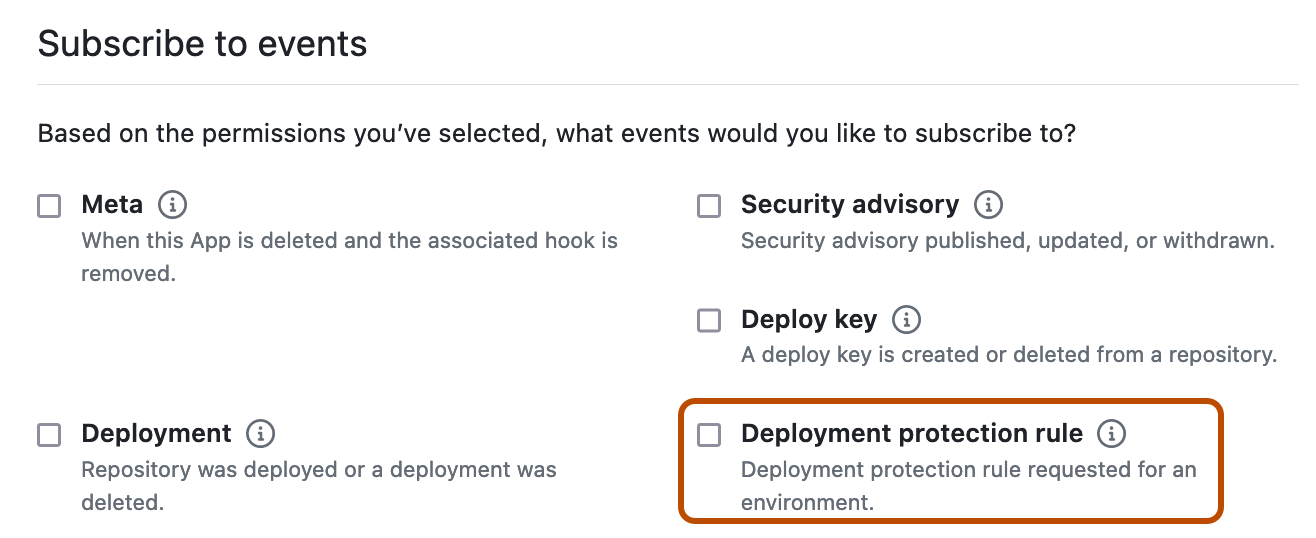
- Under "Subscribe to events," select Deployment protection rule.

-
Install the custom deployment protection rule in your repositories and enable it for use. For more information, see Configuring custom deployment protection rules.
Approving or rejecting deployments
Once a workflow reaches a job that references an environment that has the custom deployment protection rule enabled, GitHub sends a POST request to a URL you configure containing the deployment_protection_rule payload. You can write your deployment protection rule to automatically send REST API requests that approve or reject the deployment based on the deployment_protection_rule payload. Configure your REST API requests as follows.
-
Validate the incoming
POSTrequest. For more information, see Validating webhook deliveries. -
Use a JSON Web Token to authenticate as a GitHub App. For more information, see Authenticating as a GitHub App.
-
Using the installation ID from the
deployment_protection_rulewebhook payload, generate an install token. For more information, see About authentication with a GitHub App.curl --request POST \ --url "http(s)://HOSTNAME/api/v3/app/installations/INSTALLATION_ID/ACCESS_TOKENS" \ --header "Accept: application/vnd.github+json" \ --header "Authorization: Bearer {jwt}" \ --header "Content-Type: application/json" \ --data \ '{ \ "repository_ids": [321], \ "permissions": { \ "deployments": "write" \ } \ }' -
Optionally, to add a status report without taking any other action to GitHub, send a
POSTrequest to/repos/OWNER/REPO/actions/runs/RUN_ID/deployment_protection_rule. In the request body, omit thestate. For more information, see REST API endpoints for workflow runs. You can post a status report on the same deployment up to 10 times. Status reports support Markdown formatting and can be up to 1024 characters long. -
To approve or reject a request, send a
POSTrequest to/repos/OWNER/REPO/actions/runs/RUN_ID/deployment_protection_rule. In the request body, set thestateproperty to eitherapprovedorrejected. For more information, see REST API endpoints for workflow runs. -
Optionally, request the status of an approval for a workflow run by sending a
GETrequest to/repos/OWNER/REPOSITORY_ID/actions/runs/RUN_ID/approvals. For more information, see REST API endpoints for workflow runs. -
Optionally, review the deployment on GitHub. For more information, see Reviewing deployments.